Learn to fix WordPress memory exhausted errors by increasing PHP memory limits and optimizing your site. Real-world solutions from 8+ years of web development.
We earn commissions when you shop through the links below.
Few things are as frustrating for a web developer or a website owner as seeing that dreaded "Fatal error: Allowed memory size of X bytes exhausted" message. I’ve encountered this error countless times over my 8+ years building WordPress plugins, WooCommerce extensions, and full-stack applications. It often pops up when you least expect it – perhaps while updating a plugin, processing a large batch of data, or even just navigating your admin dashboard. The good news is, in most cases, you can fix WordPress memory exhausted error by increasing the limit and applying some practical optimization techniques.
In my experience, this isn't just a theoretical problem; it's a real-world blocker. I remember working on the OpenWA WhatsApp Gateway plugin, which sends critical WooCommerce order notifications, OTP verification, and generates PDF invoices. Generating complex PDF documents for hundreds of orders simultaneously, or processing bulk messages, can be incredibly memory-intensive. Without proper optimization and sufficient memory, the plugin would hit that memory limit, failing to deliver crucial customer communications. It taught me the importance of not just fixing the error, but understanding its root causes and building resilient solutions.
This guide isn't just about a quick fix; it's about giving you a comprehensive understanding, drawn from my practical experience, of why this error occurs and how to tackle it effectively. Let's dive in.
Understanding the WordPress Memory Exhausted Error
At its core, the "memory exhausted" error means that a PHP script on your WordPress site has tried to use more memory than your server (or your PHP configuration) allows. PHP, the language WordPress is built on, has a finite amount of RAM allocated to it for executing scripts. When a script – be it from your WordPress core, a theme, or a plugin – demands more than this allocated limit, PHP halts the execution to prevent resource hogging, displaying that error message.
Why Does This Happen in WordPress?
WordPress is incredibly versatile, but that versatility comes with complexity. Here are some common culprits I've identified:
Resource-Intensive Plugins: Many plugins, especially those performing complex tasks like image optimization, e-commerce operations (think WooCommerce extensions like my OpenWA WhatsApp Gateway handling multiple notifications and PDF generations), backup solutions, or security scans, can consume significant memory. Poorly coded plugins are even worse.
Bloated Themes: Feature-rich themes, particularly multipurpose ones with numerous built-in options and page builders, can be heavy on resources.
Large Image Processing: Uploading or processing high-resolution images can quickly eat up memory, especially if thumbnails and multiple sizes are generated.
Complex Database Queries: Sites with large databases, or those running inefficient queries, can exhaust memory when trying to retrieve or process vast amounts of data. My School ERP (Laravel) project and the repair service shop Point of Sale application, while not WordPress, highlighted how crucial efficient database operations are for memory management.
Outdated PHP Version: Older PHP versions are less efficient with memory management. Upgrading to a newer version (PHP 7.4 or 8.x) can often improve performance and reduce memory consumption.
Low Server PHP Memory Limit: Your hosting provider might have a very conservative default PHP memory limit, especially on shared hosting plans.
Working with fix wordpress memory exhausted error increase limit in real projects — practical implementation insights
The First Line of Defense: Increasing the WordPress Memory Limit
The most common and often easiest way to fix WordPress memory exhausted error by increasing the limit is to modify your site's configuration files. This tells PHP to allow more memory for your WordPress application.
Method 1: Editing `wp-config.php` (Recommended for most WordPress sites)
This is where I usually start. The wp-config.php file is a core WordPress configuration file, and you can define the PHP memory limit directly within it.
Steps:
Access Your Site's Files: You'll need an FTP client (like FileZilla) or your hosting control panel's file manager to access your WordPress installation directory.
Locate `wp-config.php`: This file is typically found in the root directory of your WordPress installation.
Edit the File: Open wp-config.php in a text editor.
Add the Following Line: Look for the line that says /* That's all, stop editing! Happy publishing. */. You should add the following code just before this line:
define( 'WP_MEMORY_LIMIT', '256M' );
In this example, I'm setting the memory limit to 256 megabytes. For many sites, 256M or 512M is a good starting point. Some highly active e-commerce sites or complex builds might even benefit from 768M or 1024M. Start with 256M and increase if the error persists.
What this does: This line specifically tells WordPress to attempt to increase the PHP memory limit for WordPress processes. However, it's important to understand that this setting can only increase the limit up to the maximum allowed by your hosting provider's server configuration. If your hosting provider has a hard limit of, say, 128M, setting 256M in wp-config.php won't override it.
Method 2: Modifying `php.ini` (Requires Server Access)
If editing wp-config.php doesn't resolve the issue, it's likely that your hosting environment's default PHP configuration is overriding it. In this case, you might need to adjust the php.ini file directly.
Shared Hosting Caveats: On shared hosting, you might not have direct access to the main php.ini file. However, many hosts provide a way to create or modify a custom php.ini in your user directory (often in public_html or a specific php.ini folder) or via their control panel (e.g., cPanel's "Select PHP Version" or "MultiPHP INI Editor"). Check your host's documentation or contact their support.
VPS/Dedicated Servers: If you're on a Virtual Private Server (VPS) or a dedicated server, you'll have full control. This is where providers like DigitalOcean shine. As a developer building custom applications or managing complex client projects, I often opt for a DigitalOcean Droplet because it gives me complete control over the server environment, including editing core configuration files like php.ini. You can install and configure PHP precisely as needed.
Steps (for those with `php.ini` access):
Locate `php.ini`: Common locations include /etc/php/X.X/apache2/php.ini or /etc/php/X.X/fpm/php.ini (where X.X is your PHP version). You might need SSH access for this.
Find `memory_limit`: Search for the line that starts with memory_limit =.
Increase the Value: Change the value to something higher, for example:
memory_limit = 256M ;
Again, start with 256M and increase as necessary. After saving the file, you'll typically need to restart your web server (e.g., Apache or Nginx) and PHP-FPM for the changes to take effect. For example, sudo service apache2 restart or sudo service phpX.X-fpm restart.
Method 3: Using `.htaccess` (Less Common, but Useful)
The .htaccess file is a powerful configuration file used by Apache web servers. You can sometimes use it to override PHP settings.
Steps:
Access Your Site's Files: Use FTP or your file manager.
Locate `.htaccess`: This file is in your WordPress root directory. It might be hidden, so ensure your FTP client or file manager shows hidden files.
Add the Line: Add the following line to the end of the file:
php_value memory_limit 256M
Caveats: This method only works if your server allows PHP values to be set via .htaccess (AllowOverride All must be enabled for FileInfo directives). It's also less reliable than wp-config.php or php.ini because some hosting environments (especially Nginx-based servers without Apache) don't process .htaccess files for PHP configuration.
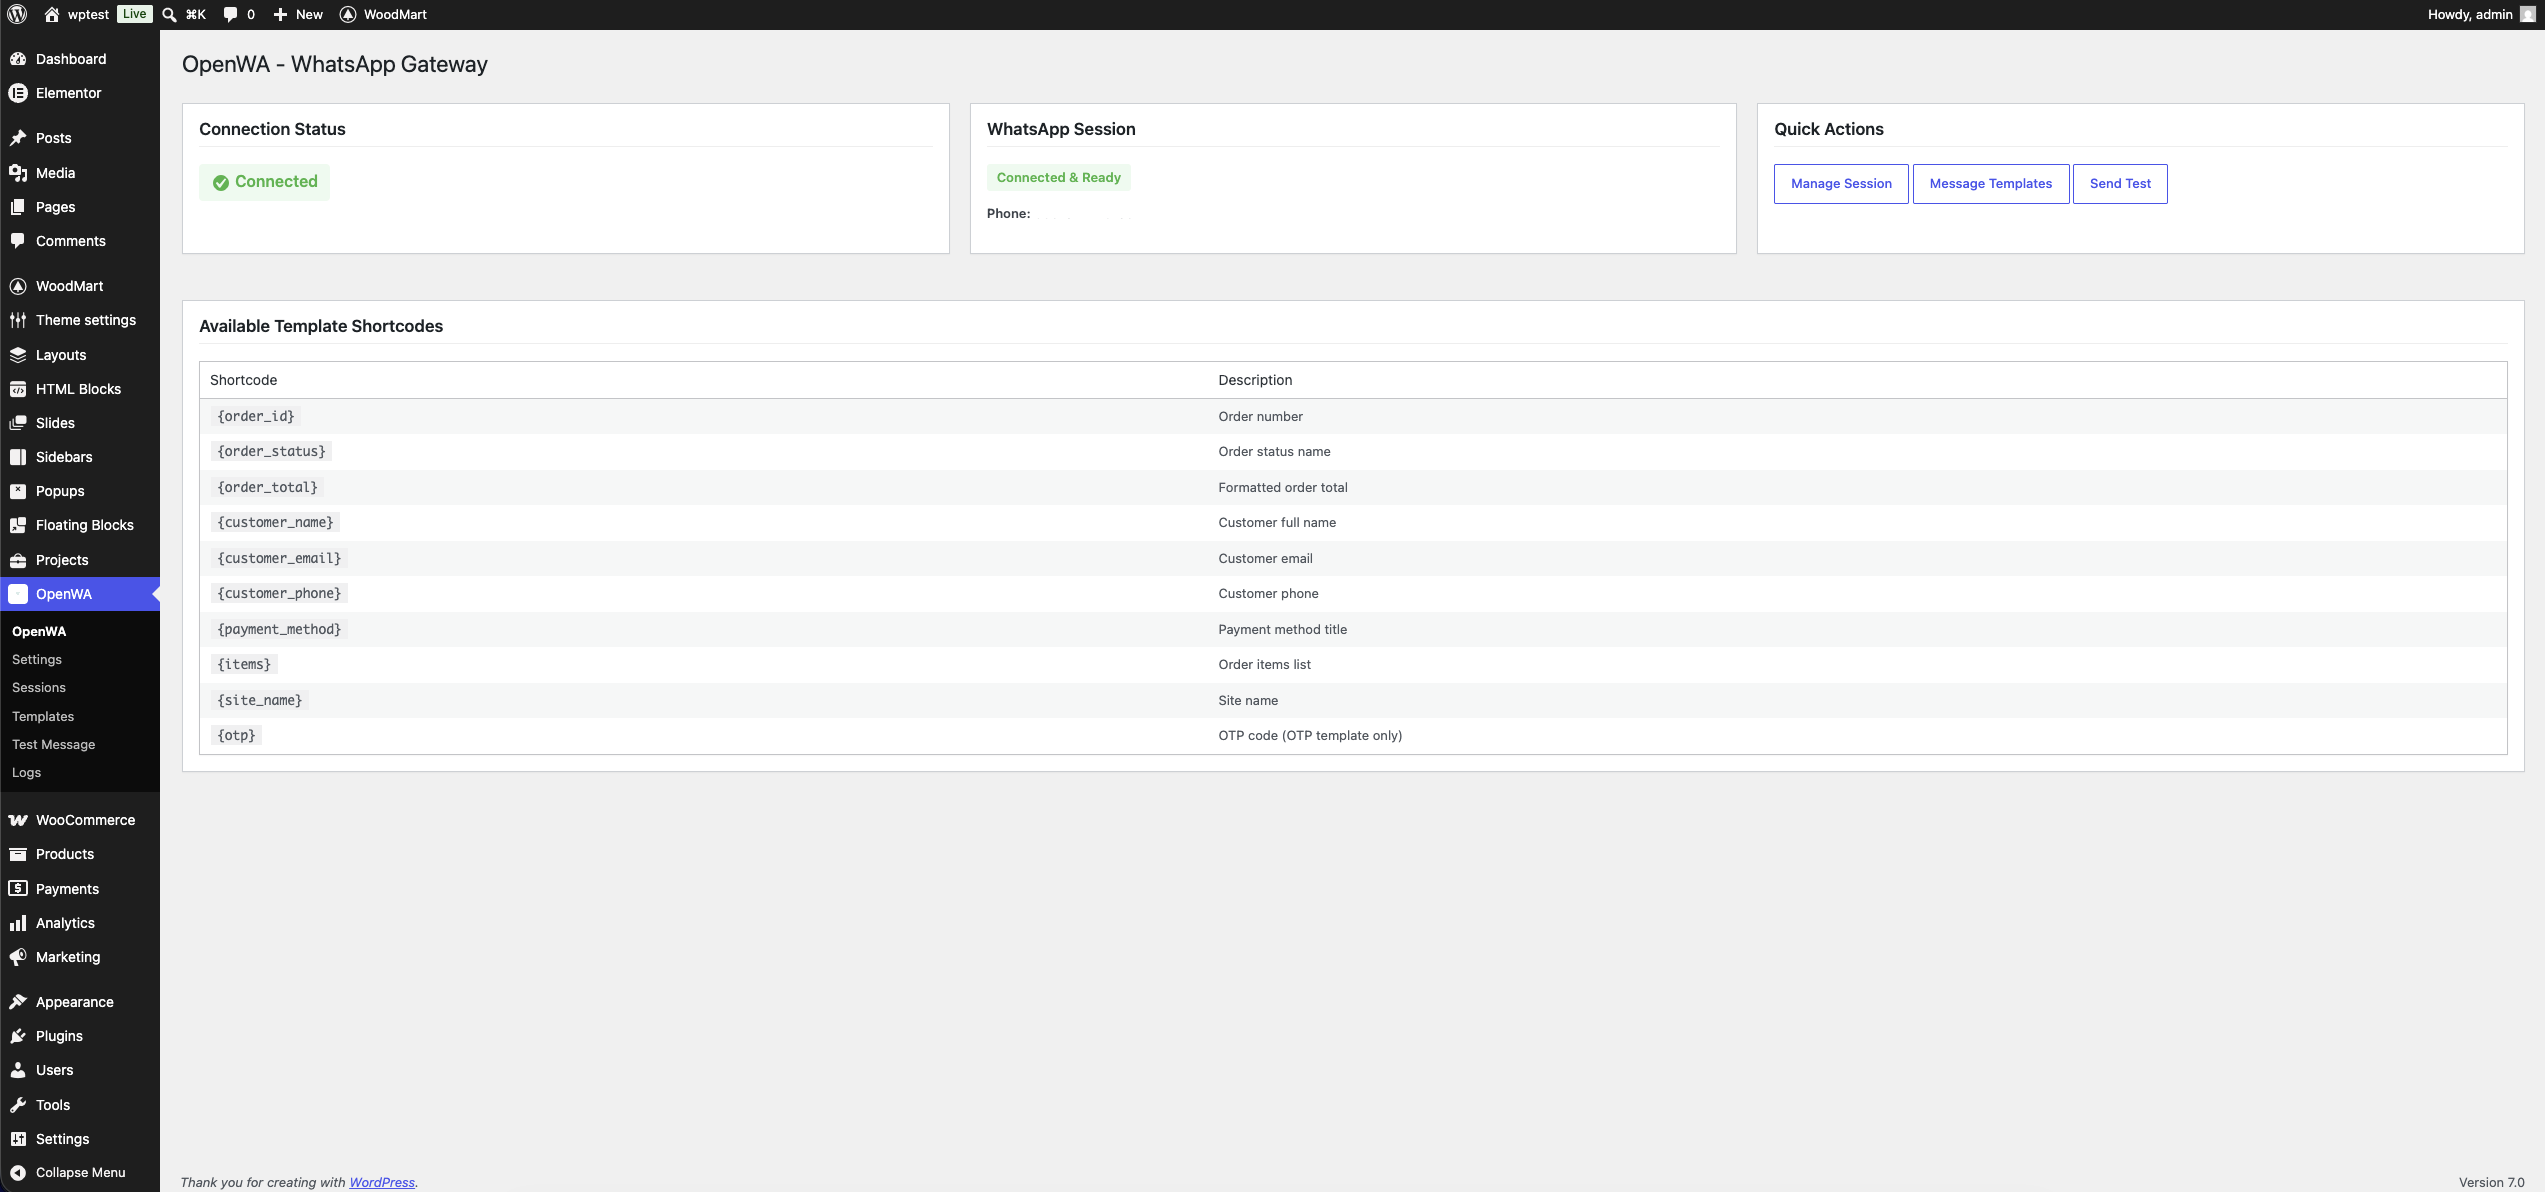
This is the admin dashboard for my OpenWA WhatsApp Gateway plugin. Debugging memory issues often starts right here in the WordPress backend, observing performance and error messages.
Beyond Increasing the Limit: Optimizing Your WordPress Site
While increasing the memory limit is often the quickest fix, it's a bit like putting a bigger gas tank in a car with a leaky engine. For long-term stability and performance, especially for critical applications like the OpenWA WhatsApp Gateway or a School ERP, you need to address the underlying causes of high memory usage. Here’s what I focus on:
1. Audit Your Plugins and Theme
This is crucial. In my work, I've seen countless memory issues traced back to a single, poorly optimized plugin or theme. When I build plugins like my Frontend File Explorer or OpenWA WhatsApp Gateway, I adhere to strict coding standards to minimize resource consumption. However, not all plugins are created equal.
Deactivate & Test: Deactivate all plugins and switch to a default WordPress theme (like Twenty Twenty-Four). If the error disappears, reactivate them one by one, testing after each activation, until the culprit is identified.
Remove Unused Plugins: If you're not actively using a plugin, delete it. Even inactive plugins can sometimes cause conflicts or bloat your database.
Choose Lightweight Alternatives: Opt for plugins and themes known for their performance and clean code. For theme development, I always advocate for best practices in WordPress theme development to ensure efficiency from the ground up.
Update Regularly: Keep WordPress, themes, and plugins updated. Developers often release updates with performance improvements and bug fixes that can reduce memory usage.
2. Optimize Your Database
A bloated or unoptimized WordPress database can contribute significantly to memory exhaustion, especially when running complex queries. Over time, themes and plugins can leave behind orphaned data, transients, and unnecessary revisions.
Clear Transients: Transients are cached data; sometimes they don't expire correctly and accumulate.
Delete Post Revisions: WordPress saves multiple revisions of posts and pages. Limiting or deleting old revisions can help.
Clean Up Comments: Remove spam comments, unapproved comments, and trash comments.
Optimize Tables: Use a plugin or phpMyAdmin to optimize your database tables.
3. Implement Caching
Caching is a game-changer for WordPress performance and memory usage. By serving cached versions of your pages, you drastically reduce the number of PHP scripts executed and database queries made on each page load.
Page Caching: Plugins like WP Super Cache or W3 Total Cache store static HTML versions of your pages, serving them to visitors instead of dynamically generating them.
Object Caching: For dynamic content, object caching (e.g., using Memcached or Redis) can store the results of database queries, preventing repetitive queries and reducing memory strain.
CDN (Content Delivery Network): A CDN offloads static assets (images, CSS, JS) to a global network of servers, further reducing the load on your origin server. This is standard practice for high-performance sites.
4. Upgrade Your PHP Version
As I mentioned earlier, this is often overlooked. Each new major version of PHP brings significant performance improvements and better memory management. If you're still on PHP 7.0, 7.1, or even 7.2, upgrading to PHP 7.4 or PHP 8.x can yield instant benefits. Always test on a staging environment first to ensure compatibility with your plugins and theme.
5. Consider Your Hosting Environment
Sometimes, no matter how much you optimize or increase limits, your hosting environment simply can't keep up. For small personal blogs or static sites, a budget-friendly host like Hostinger can be a great option to start. They offer decent shared and VPS plans that can handle many small to medium WordPress sites.
However, for high-traffic sites, e-commerce stores using complex WooCommerce setups (like those leveraging my OpenWA WhatsApp Gateway for critical customer communication), or client projects where performance and reliability are paramount, you'll need more robust hosting.
In these cases, I highly recommend a managed WordPress host like Kinsta. They offer premium infrastructure built on Google Cloud, with automatic scaling, built-in caching, and excellent support. While Kinsta is a premium option, the performance gains and peace of mind are often worth the investment for mission-critical applications. For developers like me who need full server control for deploying custom apps, APIs, or managing multiple databases beyond just WordPress, DigitalOcean remains my go-to for its flexibility and developer-centric features.
Debugging When the Problem Persists
If you've increased the memory limit and optimized your site, but the error still appears, it's time for deeper debugging. This is where my experience as a full-stack developer truly comes into play, utilizing tools and strategies to pinpoint the exact issue.
1. Enable WordPress Debug Mode
Add these lines to your wp-config.php file (just above the /* That's all, stop editing! Happy publishing. */ line):
This will log all errors to a debug.log file inside your wp-content directory, rather than displaying them on the front end (which is bad for user experience). Examining this log can often reveal which specific script or function is causing the memory exhaustion.
2. Use a Staging Environment
Never debug directly on a live site if you can avoid it. Set up a staging environment. Many hosts offer one-click staging, or you can create one manually. This allows you to experiment with changes without impacting your live users. For local development, I often use MAMP or similar tools, as detailed in my guide on setting up a local WordPress development environment.
3. Profile PHP Code with Xdebug
For advanced debugging and performance profiling, Xdebug is an invaluable tool. It allows you to step through your PHP code, inspect variables, and generate profiling reports that show exactly where memory is being consumed. This is more for developers, but it provides unparalleled insight into resource usage. You can learn more about integrating these kinds of tools in an efficient workflow from my article on how to automate routine tasks in web development workflow.
FAQ
Q: What is the recommended PHP memory limit for WordPress?
A: For a basic WordPress site, 128M is often sufficient. However, for most modern sites with a few plugins and a good theme, I recommend at least 256M. For e-commerce sites (especially WooCommerce) or sites with many complex plugins, 512M or even 768M might be necessary. It really depends on your specific setup and traffic.
Q: My host says they can't increase the PHP memory limit beyond X. What now?
A: If your host has a hard limit that you can't bypass, you have two primary options. First, aggressively optimize your site: audit plugins/themes, optimize the database, and use caching. If that's still not enough, it's a clear sign you've outgrown your current hosting plan or provider. This is when upgrading to a VPS (like DigitalOcean) or a managed WordPress host (like Kinsta) becomes essential.
Q: Can a memory exhausted error break my site permanently?
A: No, a memory exhausted error typically just stops the script that's running and displays an error message. It doesn't permanently damage your WordPress installation or database. However, if it happens frequently, it can lead to a poor user experience, broken functionalities (like failing order notifications from my OpenWA plugin), and lost revenue for e-commerce sites. It's a critical error that needs to be addressed promptly.
Conclusion
The WordPress "memory exhausted" error, while intimidating, is a common problem with practical solutions. As someone who builds and maintains complex WordPress systems like the OpenWA WhatsApp Gateway and Frontend File Explorer, I've learned that a multi-pronged approach is always best. Start by attempting to fix WordPress memory exhausted error by increasing the limit in wp-config.php, then explore php.ini or .htaccess if needed.
But don't stop there. Real stability comes from understanding and addressing the root causes through optimization: auditing plugins and themes, cleaning your database, leveraging caching, and ensuring your hosting environment is up to the task. By combining these methods, you'll not only resolve the immediate error but also build a more robust, faster, and more reliable WordPress site. Keep learning, keep building, and remember that every error is just another opportunity to deepen your expertise.